5 Tips and Tricks for "Before" and "After" Photos

If you're embarking on a new diet or weight loss program, it probably means you don't love the way you look right now. And you might even avoid being in photos because of how you look. But we're asking you to push those feelings aside when you do the KETO 30 Challenge.
Here's why: taking "before" photos are so important because when you're in the trenches day in and day out, it can be really difficult to see the small improvements in your body. Sometimes the scale won't move for days even though you're losing inches. In fact, don't only take "before" and "after" photos; "during" photos are also critical and can serve as motivation to keep going. You will be amazed at the difference you'll see in 15 days, and again in 30 days if you follow our KETO 30 diet program.
Take a peek at what you might be eating on the keto diet and download our Master Keto Food List. It has 100+ keto foods mapped out for you!5 Tips For Taking Good Photos
FIND A FRIEND. If possible, ask someone to take it for you. You just won't get the same quality taking a shot of yourself in the mirror. Use your phone's auto-timer if no one can do it for you.
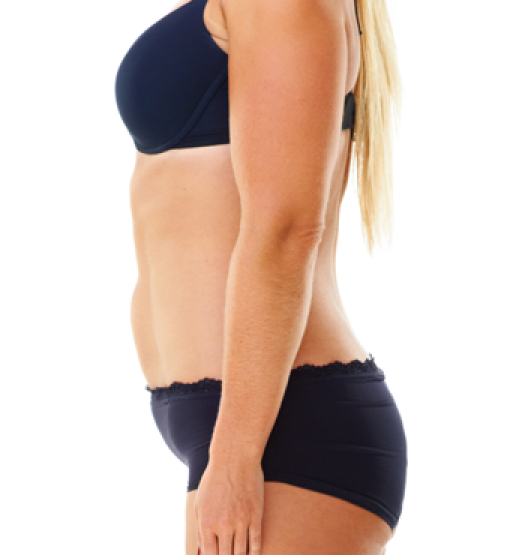
PICK AN OUTFIT. Wearing the same outfit in your "before" and "after" photos is a really great way to show progress. We also recommend that you wear something that's body revealing. For women, this means a sports bra or fitted tank top with yoga pants; for men, shirtless with basketball shorts. Resist the urge to suck in your stomach for the "before" shot. Smiling is optional in the "before" photo; you'll want to smile for your "after!"
SELECT A SCENE. Stand in natural light in front of a blank, light-colored wall. There should be no distracting paintings or clutter behind you. Natural light looks better than artificial lighting (at a gym, for example). Take it near a window during the day and make sure the window is behind the camera, not in front of it.
TAKE DIFFERENT SHOTS. Ideally, you'll want full-body front, side, and back photos. We also recommend taking a headshot because your face can look noticeably different after losing just a few pounds. When taking "after" photos, take the same shots at the exact same location in similar lighting (in the same outfit, if possible).
Congratulations on taking steps to improve your health! Now let's make sure we document your success!
-
Posted in
Events, Nutrition, Starting Keto, Success Story, Training, Weight Loss, Workouts


